> For the complete documentation index, see [llms.txt](https://epsilla-inc.gitbook.io/epsilladb/llms.txt). Markdown versions of documentation pages are available by appending `.md` to page URLs; this page is available as [Markdown](https://epsilla-inc.gitbook.io/epsilladb/build-your-first-ai-agent/create-a-knowledge-base.md).
# Create a Knowledge Base
A knowledge base is a centralized repository of information used to store, organize, and manage content in a structured and accessible manner. In the context of Epsilla Cloud, it serves as the foundational data source that powers AI-driven applications, such as chatbots and start search agents. A knowledge base can include documents, articles, PDFs, or any relevant files that contain information an AI system can reference to provide accurate and grounded responses. A knowledge base enhances the AI's ability to deliver precise and contextual answers, significantly improving personalization and reducing hallucinations.
### **Access the Knowledge Bases Tab**
On the navigation bar, click on the **Knowledge Bases** tab.
This will lead you to the page where you can create and manage all your knowledge bases.
### **Click "Create Knowledge Base"**
Locate and click the **Create Knowledge Base** button. This will initiate the setup process for a new knowledge base.
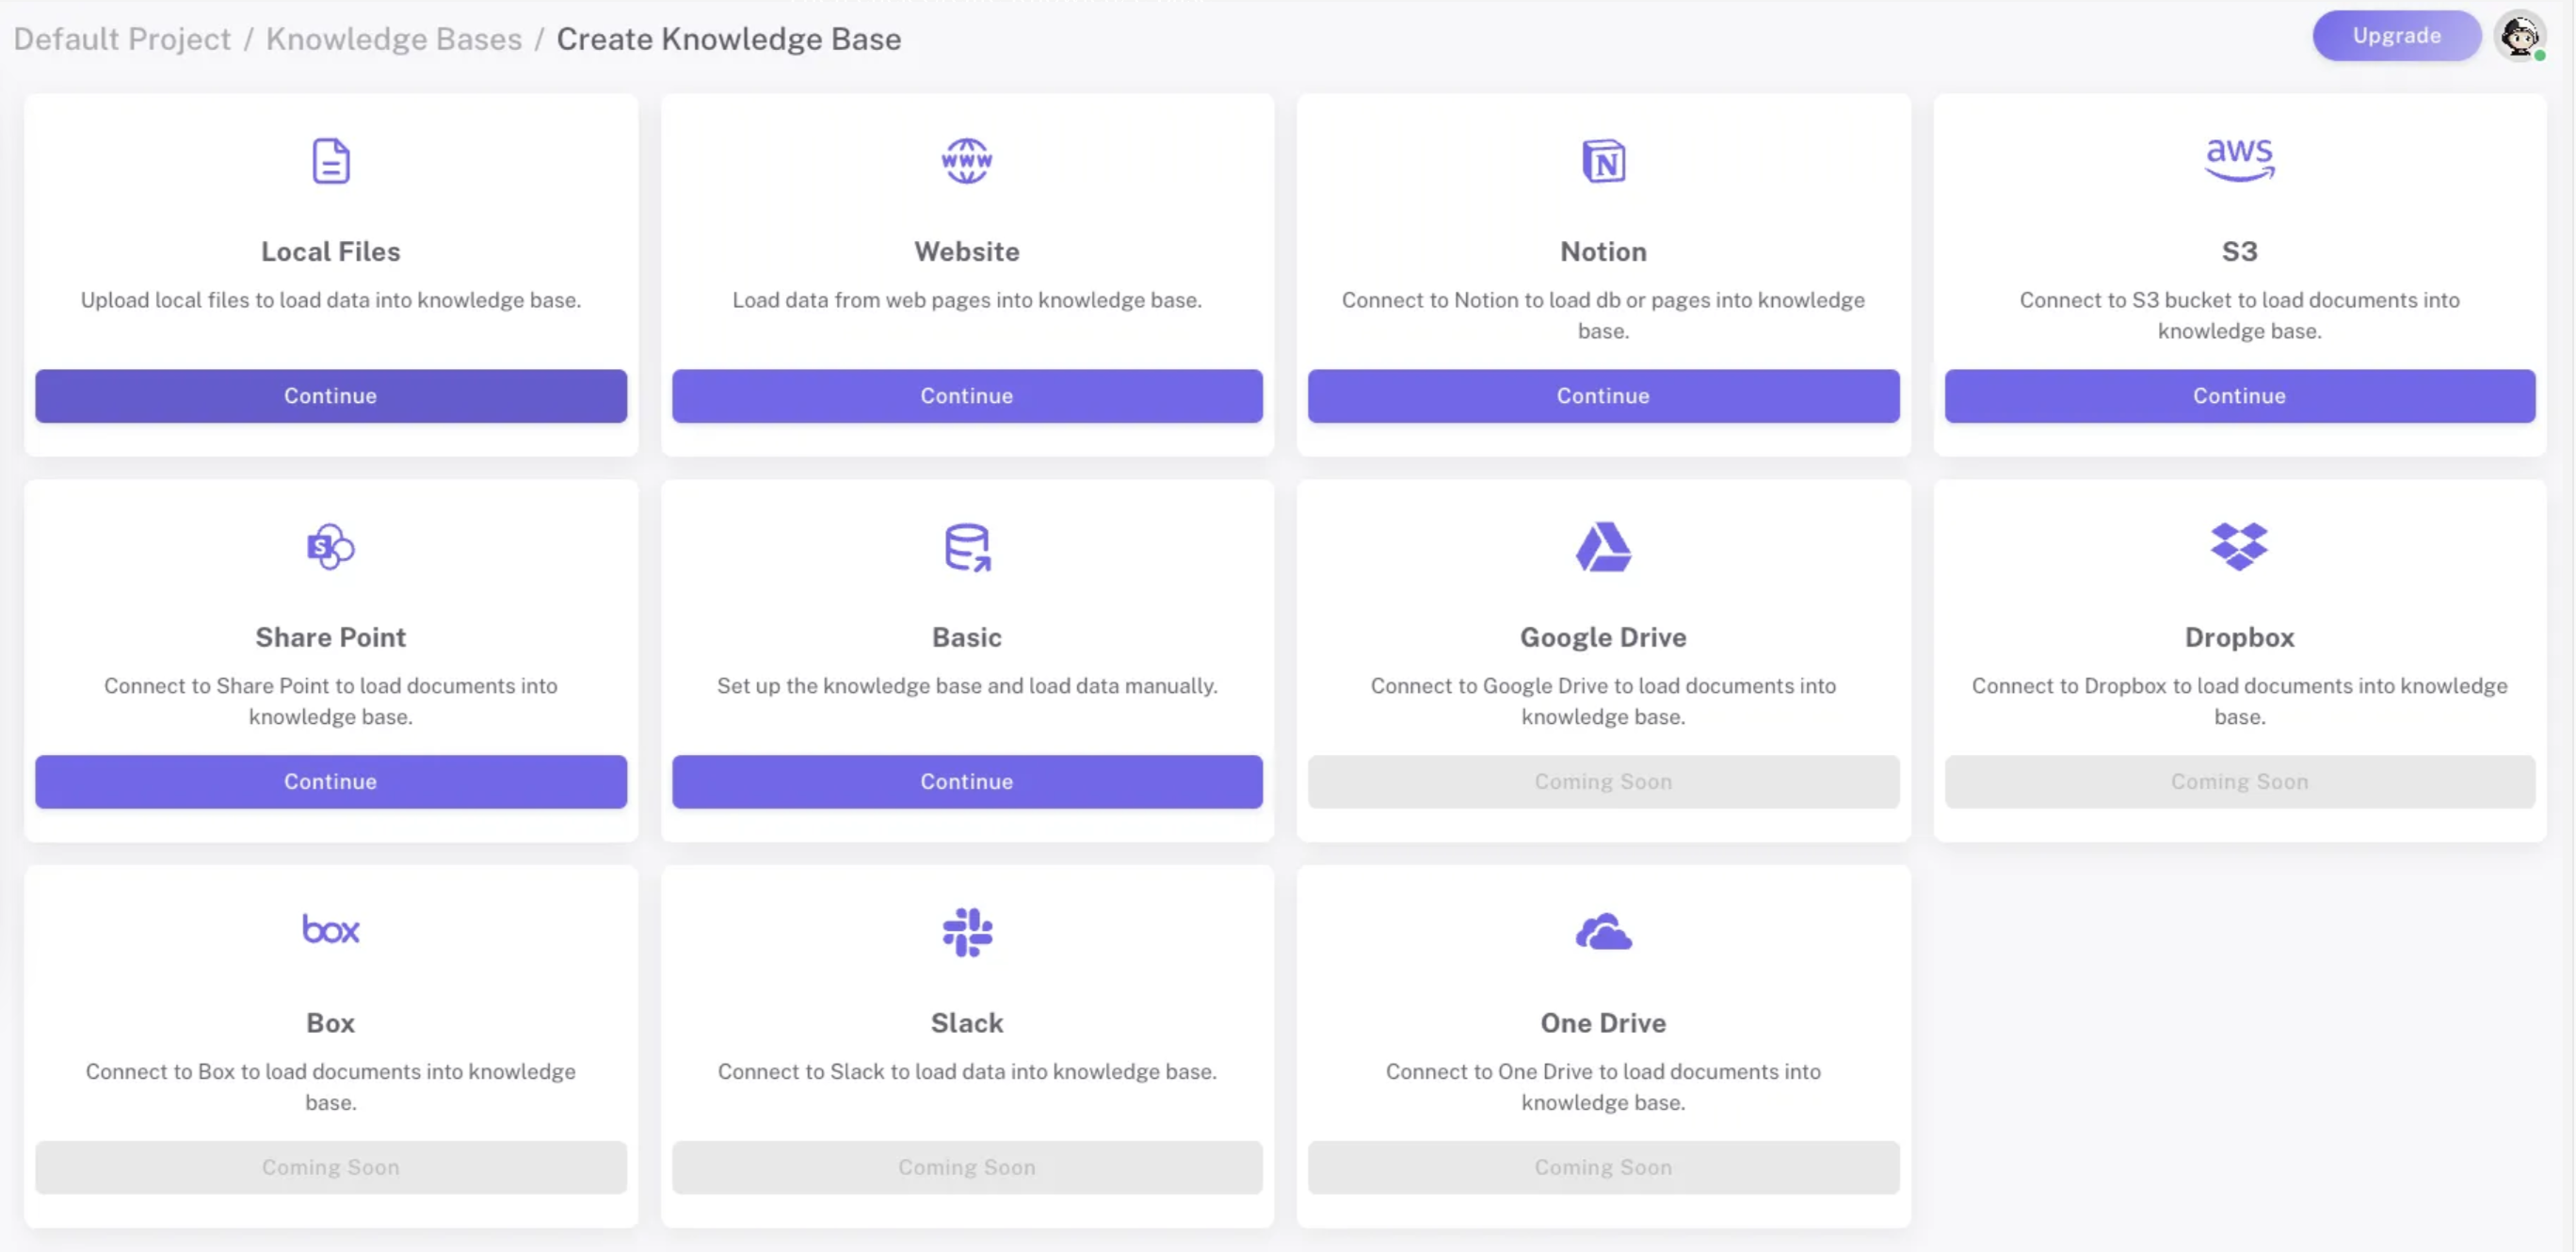
### **Select Knowledge Base Type**
Choose the type of data source you'd like to use for your knowledge base. Epsilla Cloud supports several types, including:
* **Local Files** (e.g., PDFs, Word documents)
* **Websites**
* **Cloud Storage** (e.g., Google Drive, Dropbox, SharePoint, S3)
* **Note-Taking Apps** (e.g., Notion)
Here we choose **Local Files**.
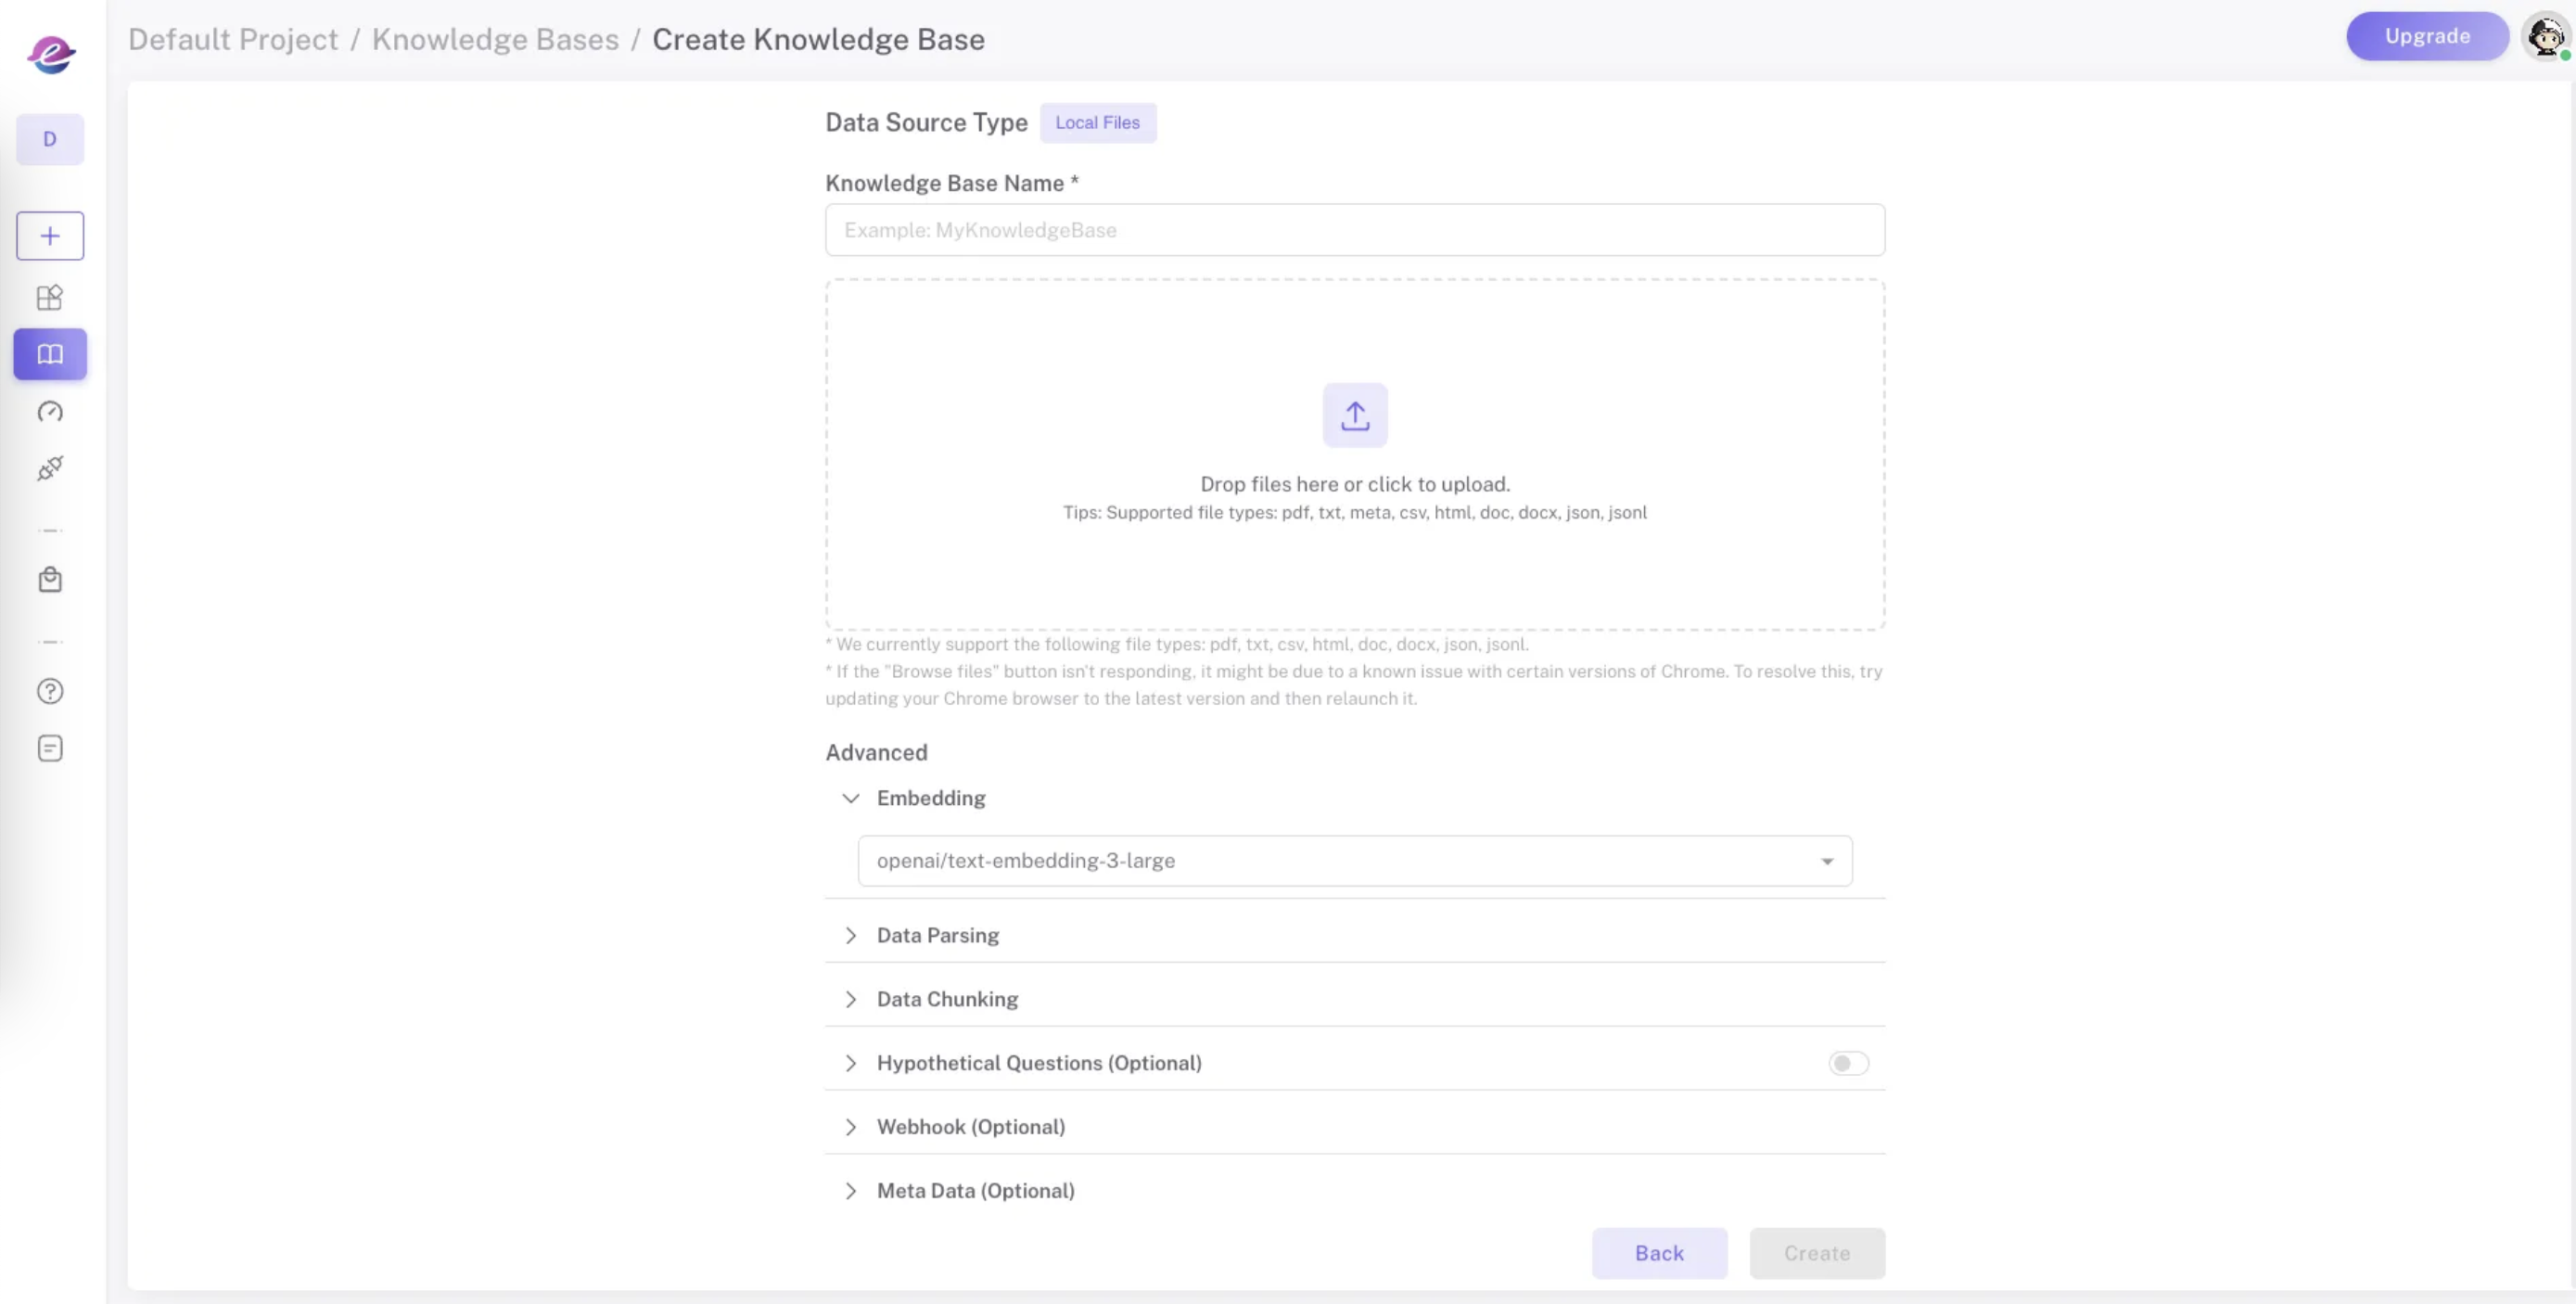
### Knowledge Base Name
Provide a **Knowledge Base Name**.
### **Upload Data**
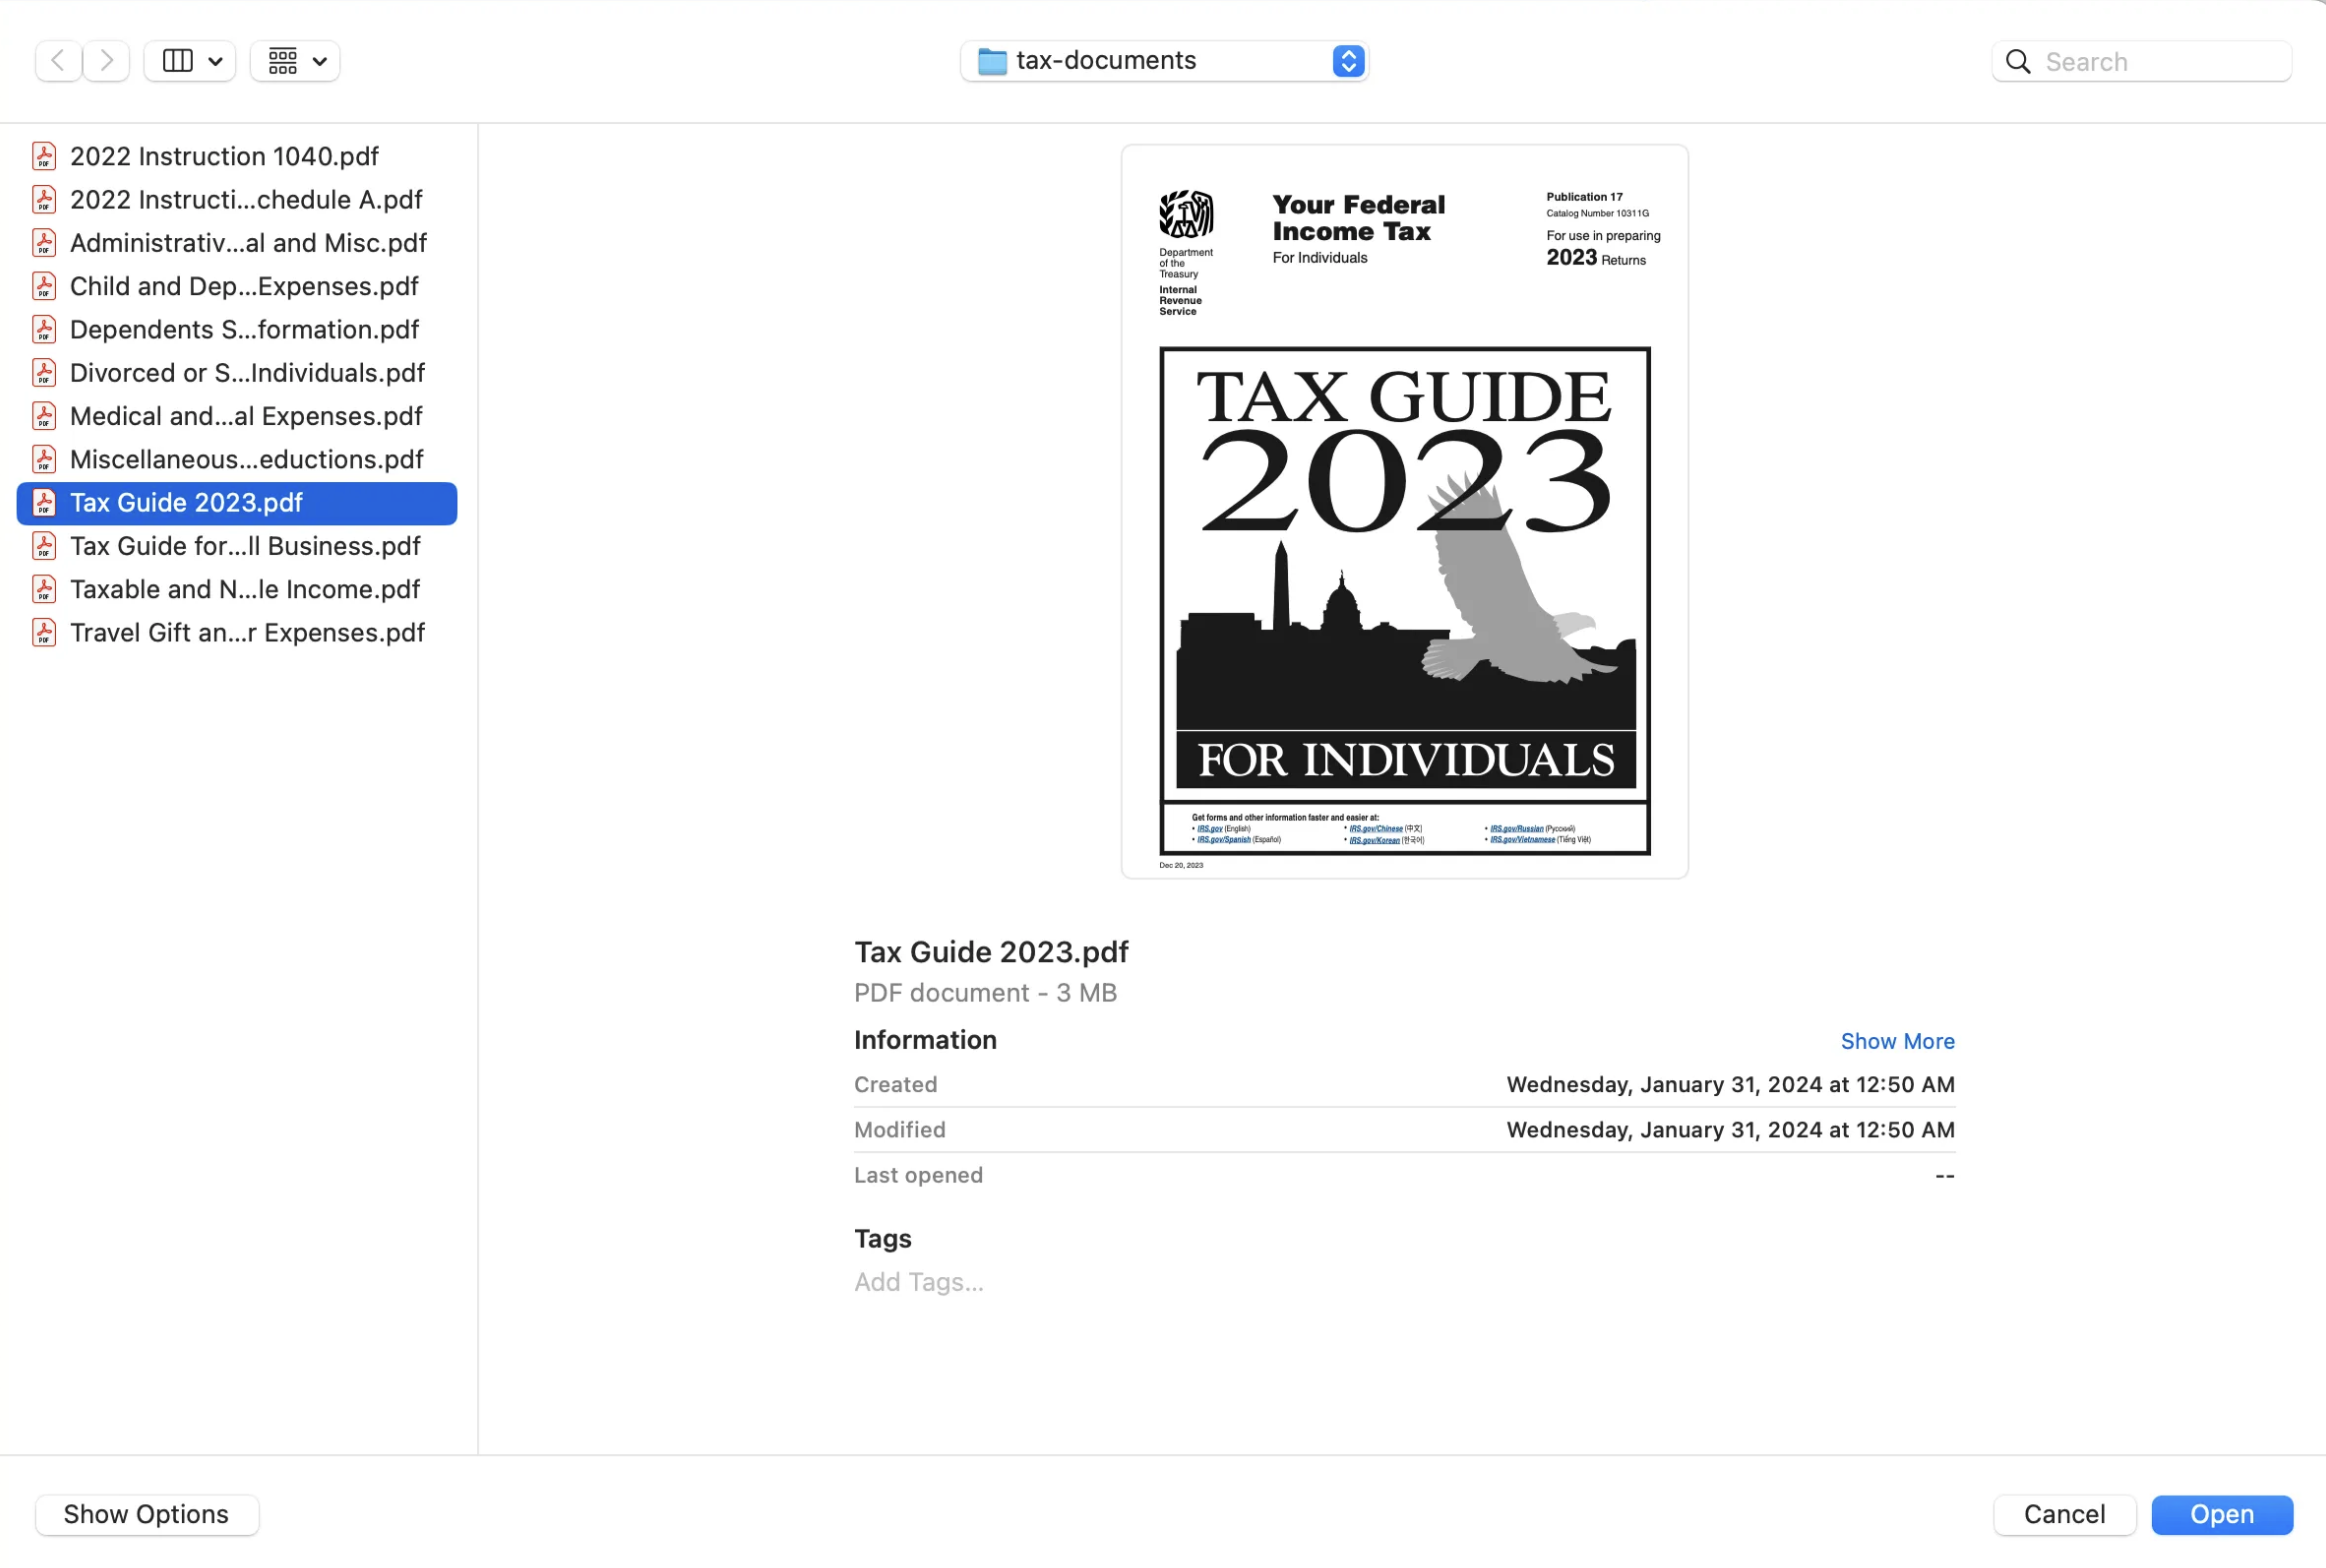
Select the documents you want to use. You can click the file uploader to pick files, or directly drag the files to upload:
### **Data Processing**
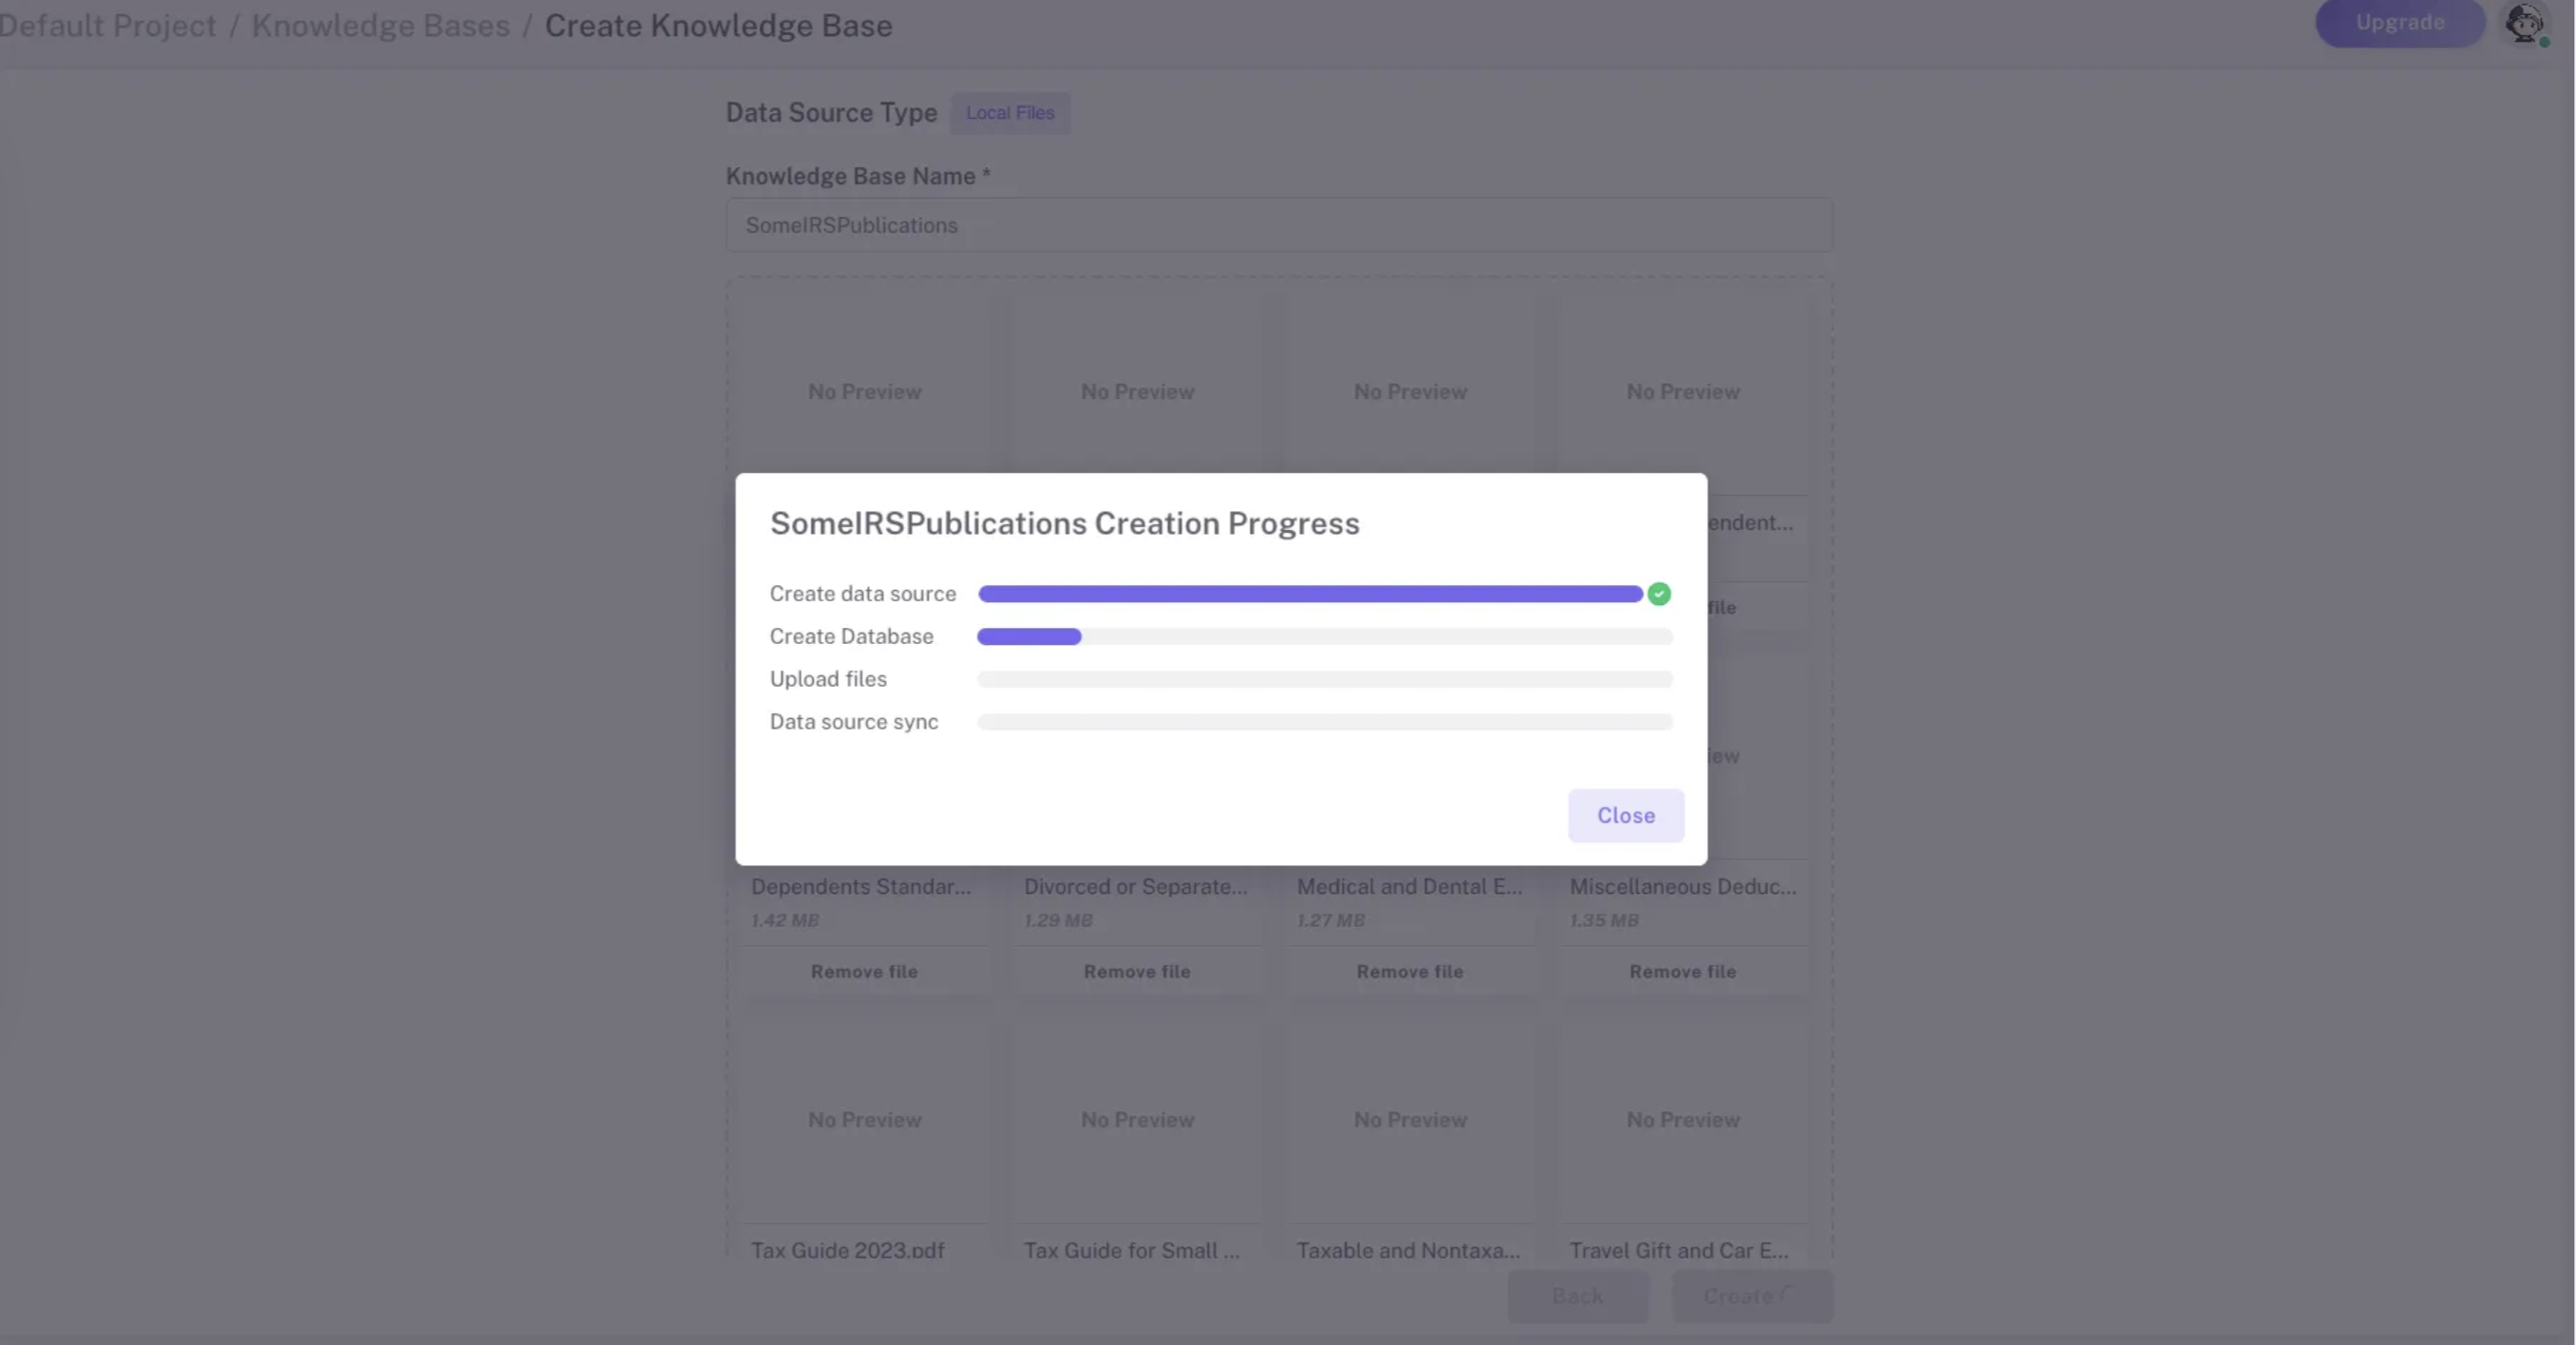
Once the data is uploaded, click **Create:**
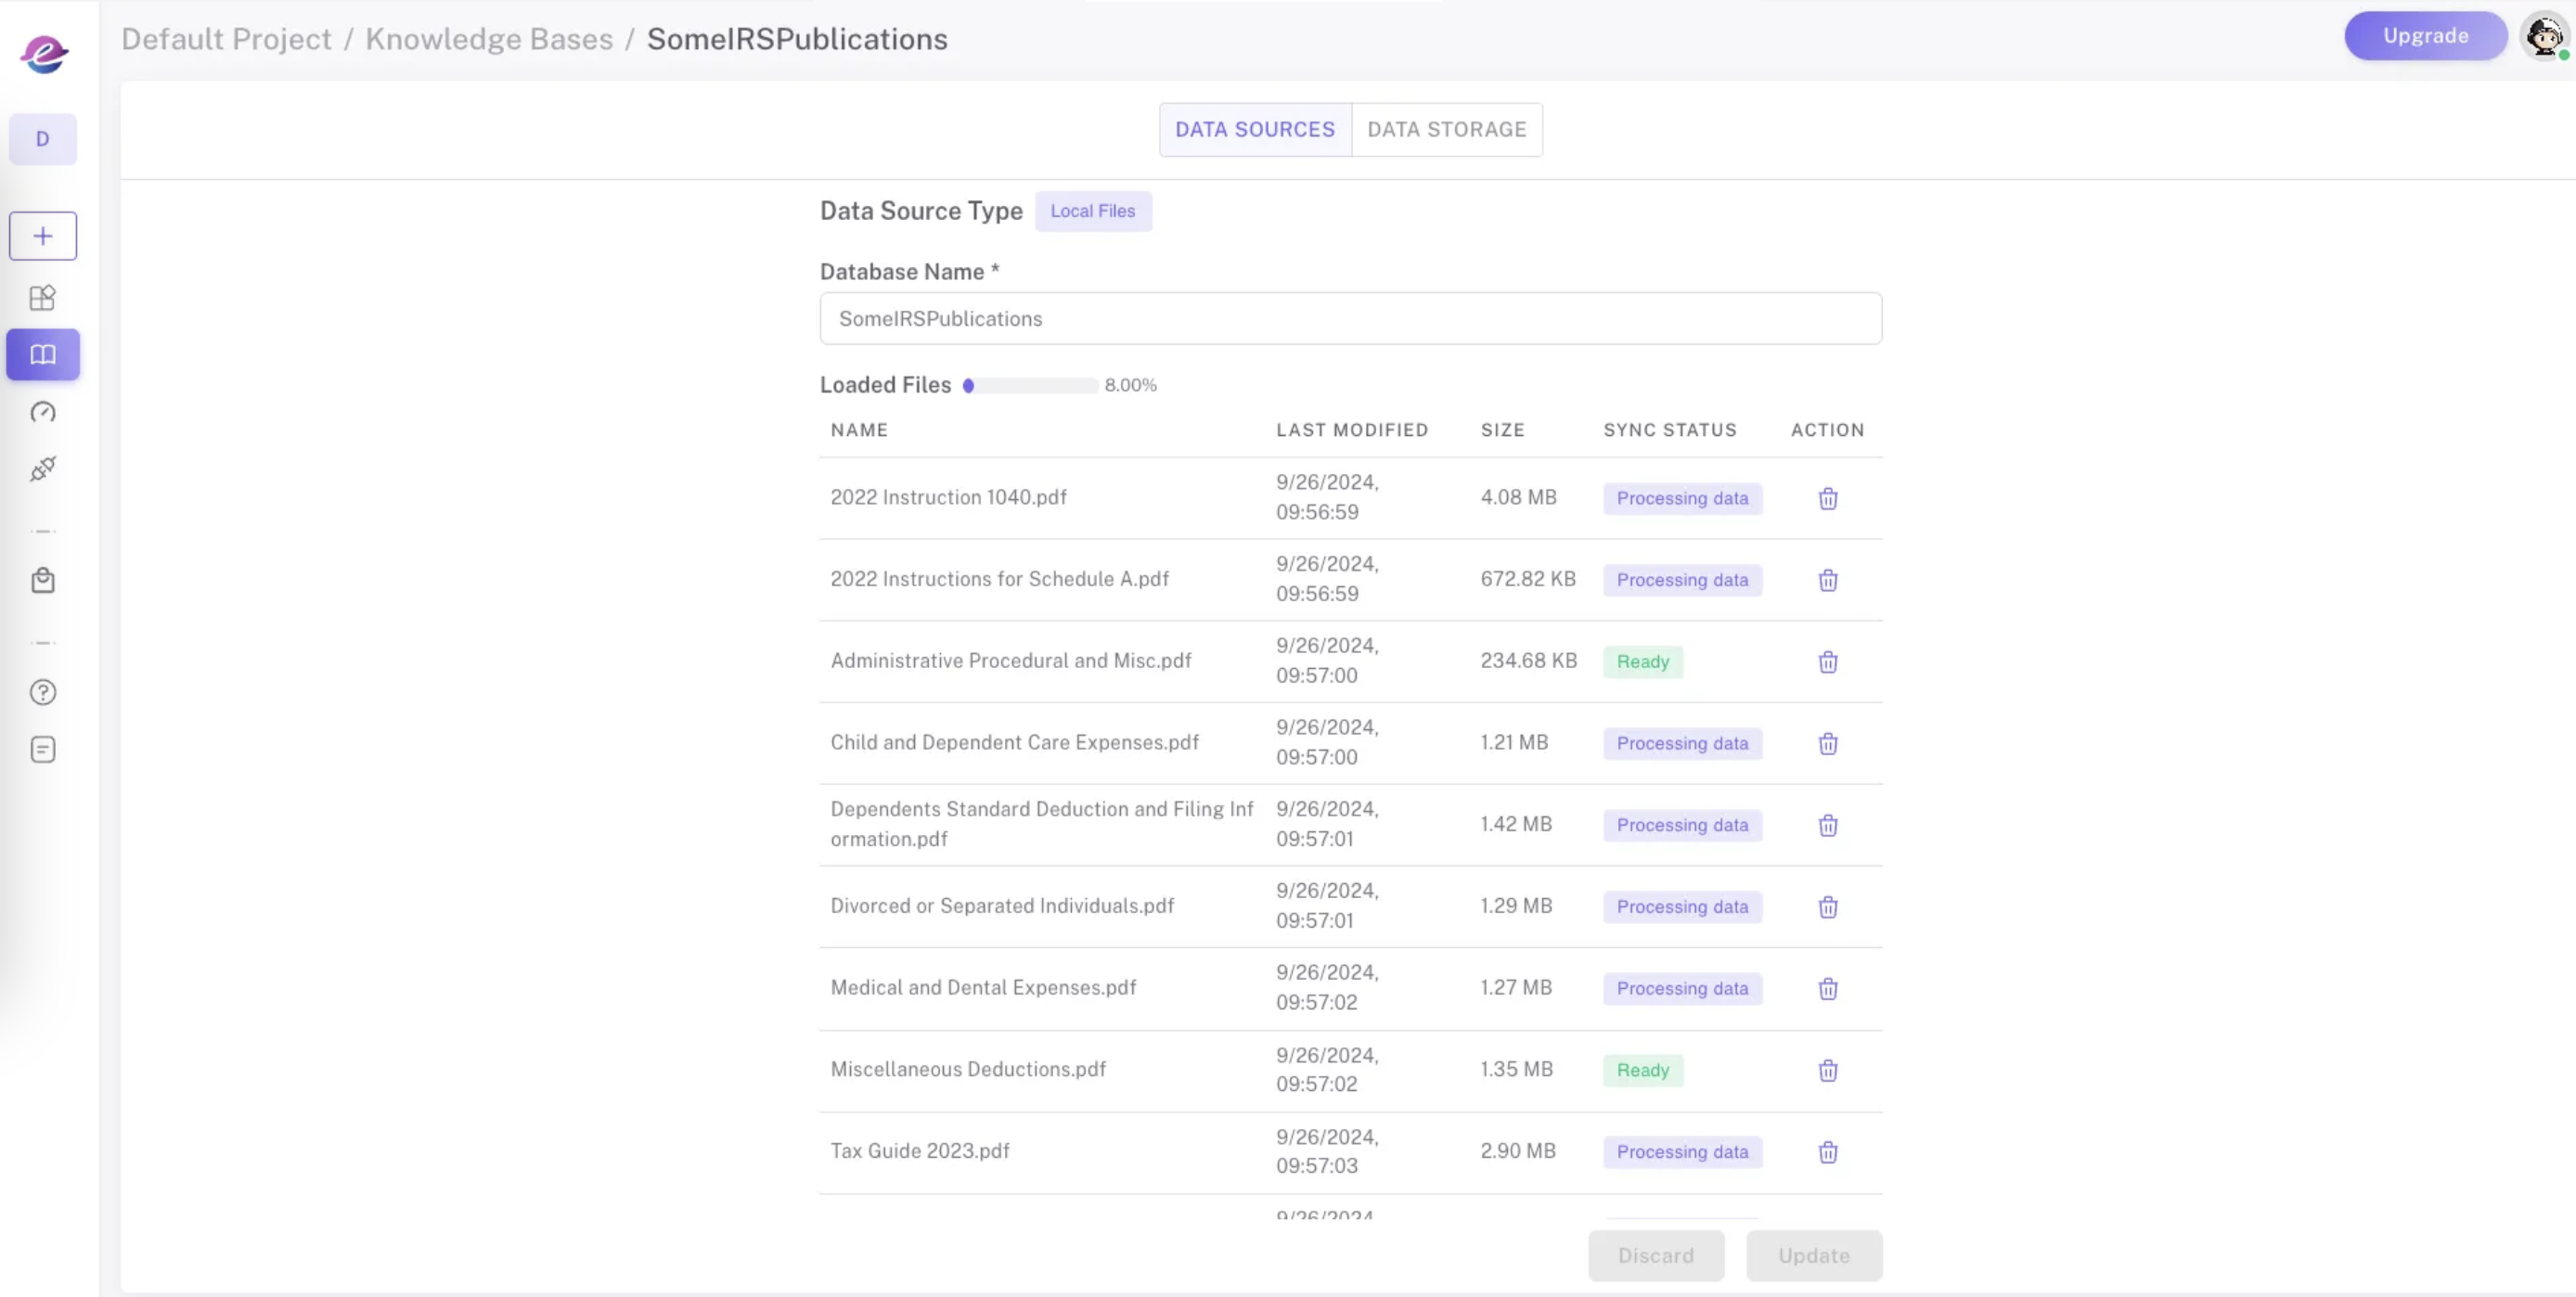
Epsilla Cloud will automatically process the files (under the hood, Epsilla will load the files, chunk them, and embed into vectors. [Read more here](https://blog.epsilla.com/large-scale-smart-etl-for-unstructured-data-in-rag-systems-with-epsilla-7fd86fa8d6cd)), You can monitor the progress of data processing:
### **Inspect Data**
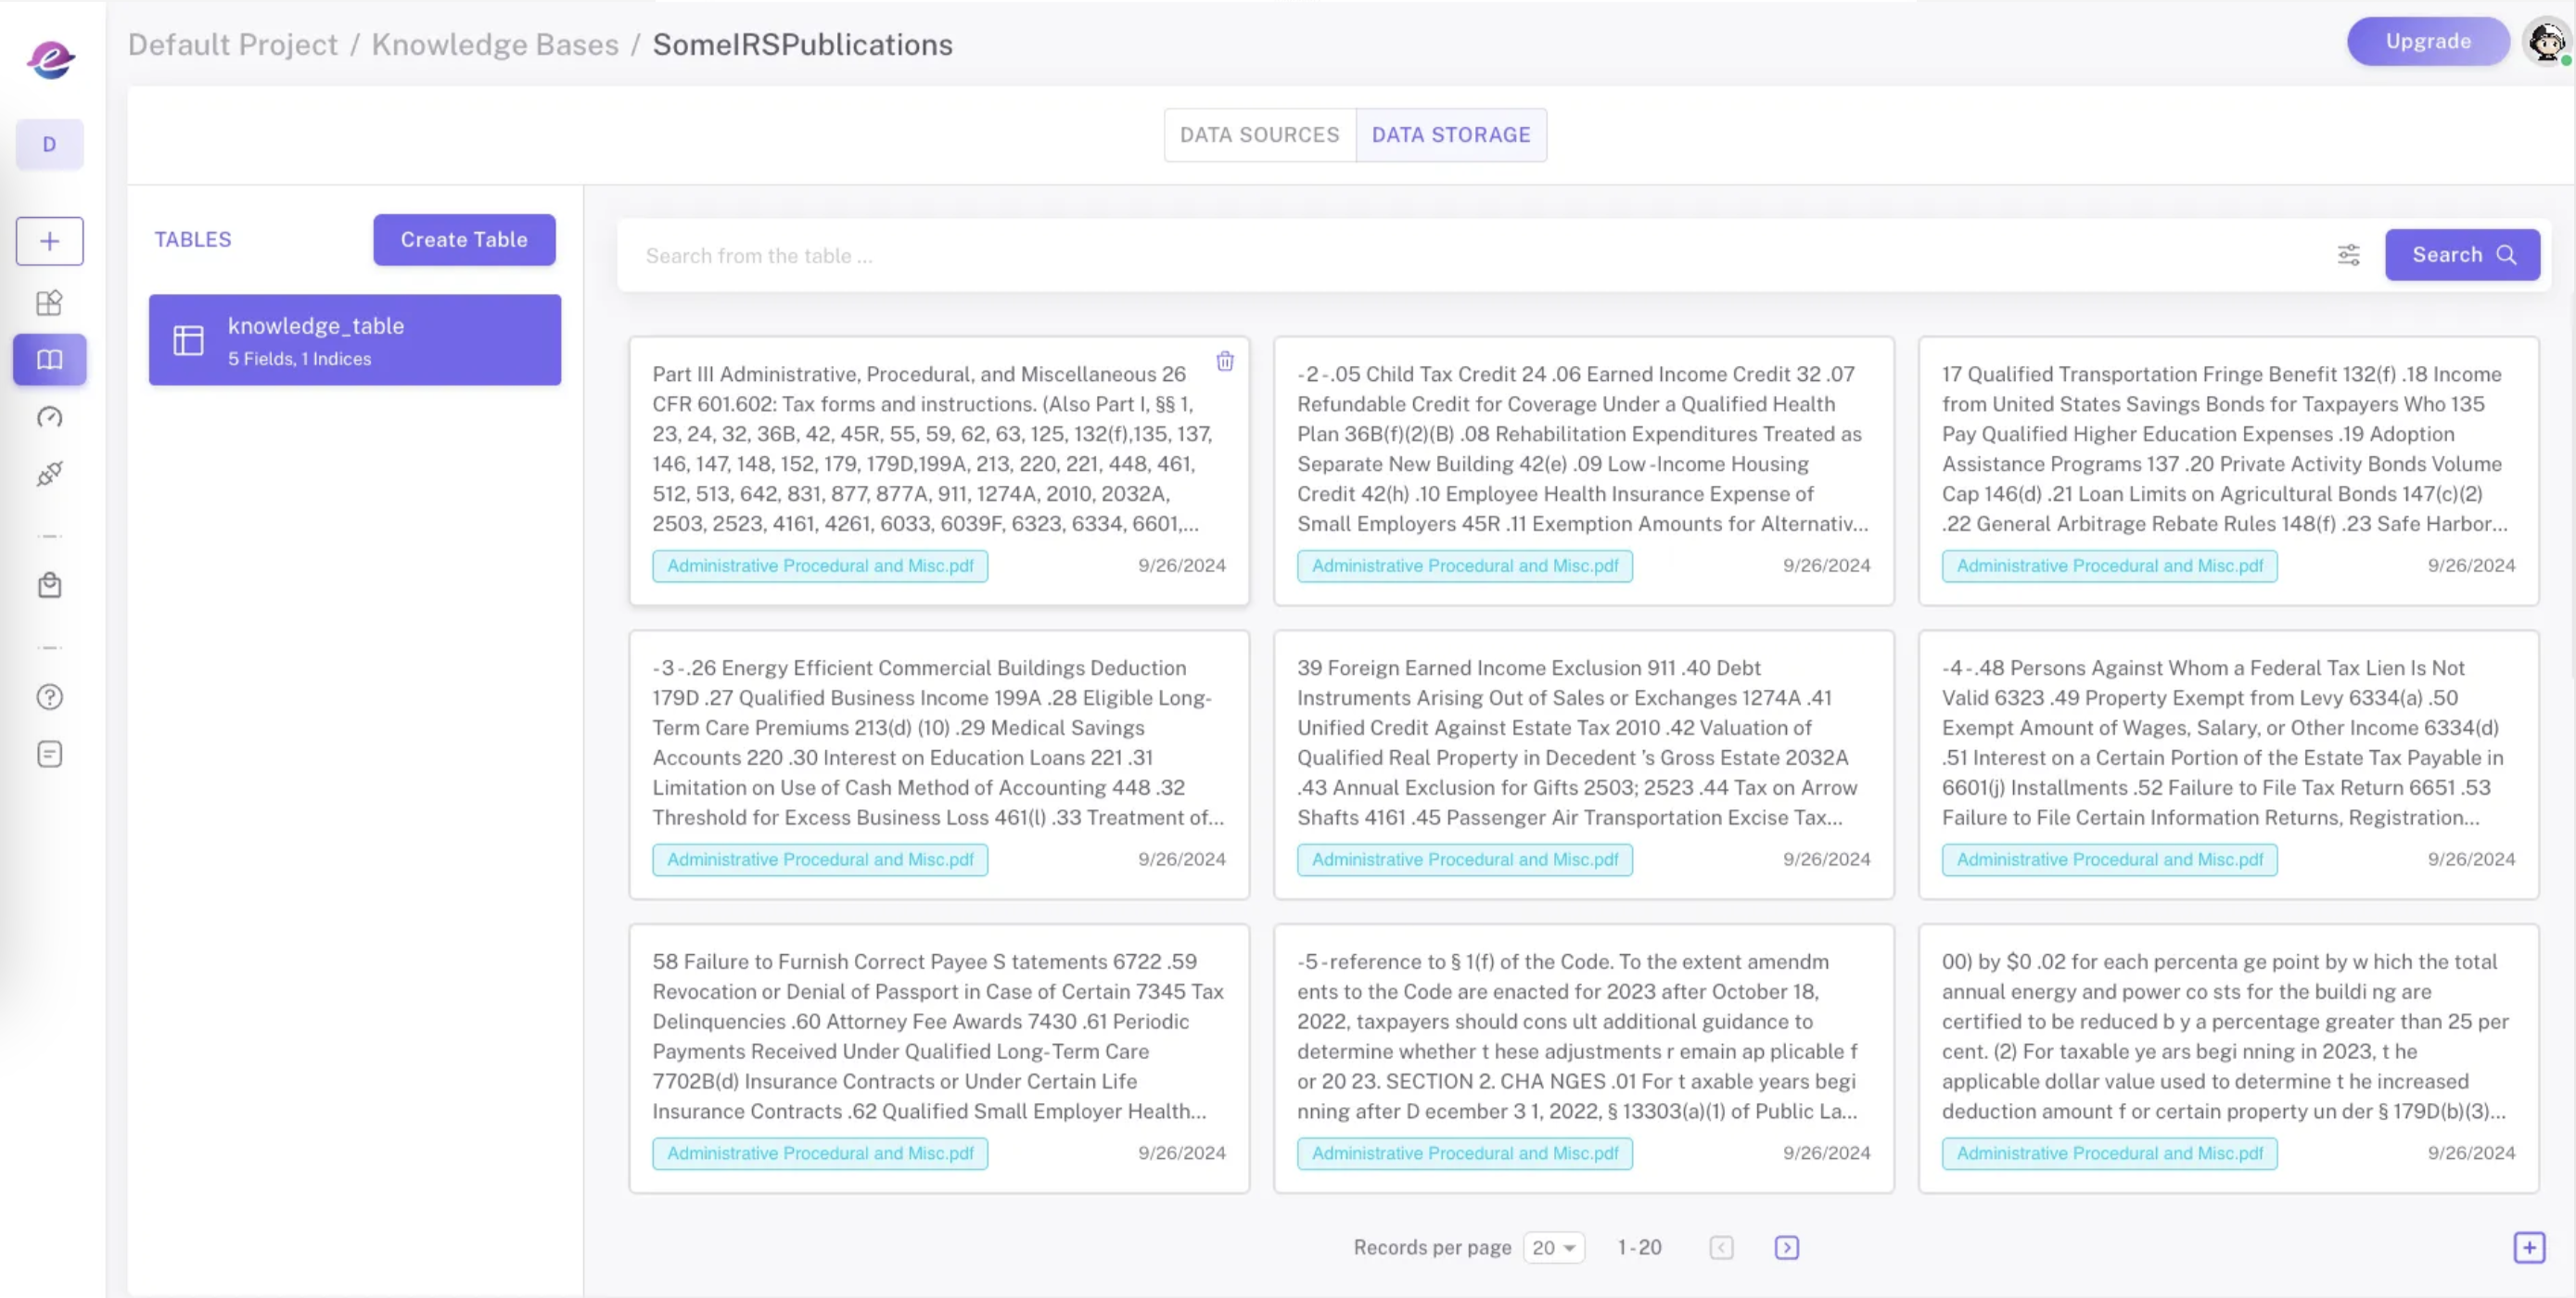
You can inspect the processed data (chunks) at the **Data Storage** tab. By default, the first 20 chunks will be visualized:
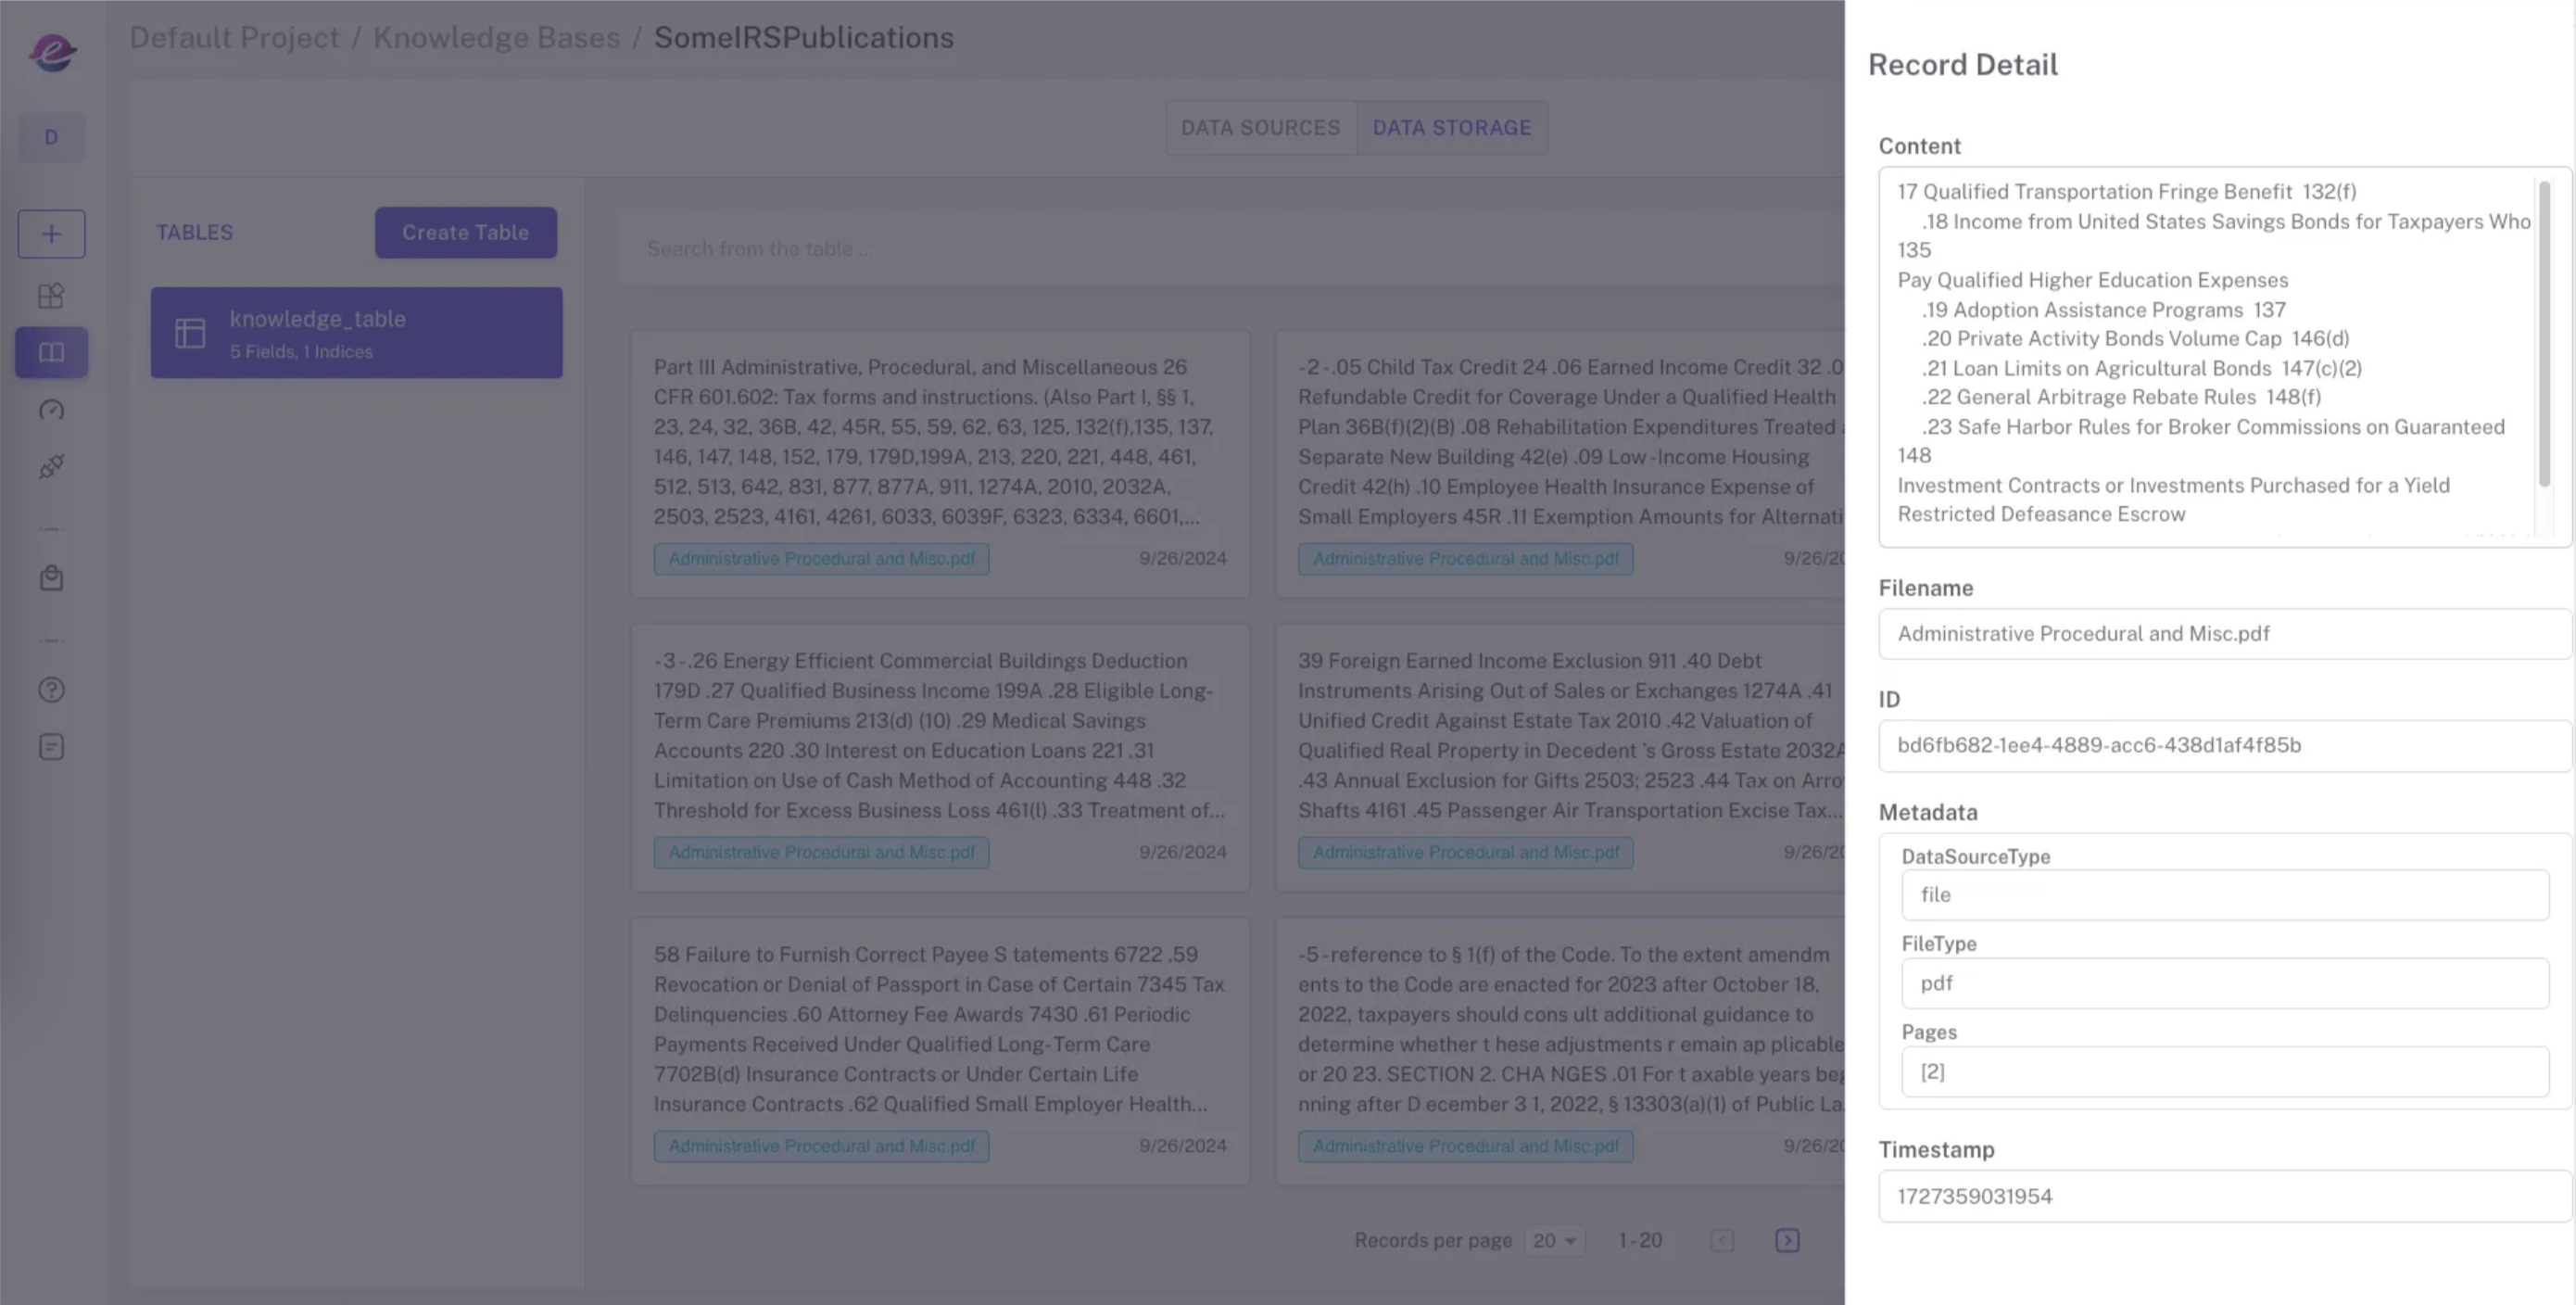
Click a chunk to inspect the chunk data detail:
Read more about inspecting data at [Data Storage](/epsilladb/knowledge-base/data-storage.md).